'Beyond Truth' particle tutorial #1
Introduction:
At the beginning I wanted to thank everyone who played my game as I'm really glad that so many people really enjoyed it. I received tons of comments that particles I made were looking awesome and I thought that there are thousands of people who doesn't feel confident with their graphic skills (like me) and that this article might help them a bit.
About a year ago I knew nothing about how to make particles (I just knew that there was a huge and complicated component for that) and I really enjoyed those glowy and nice looking effects. So through watching tons of tutorials and making better and better particles on several projects I got where I am. I still must improve a lot (trust me, there are people who make some incredible works with them), but as you can see, it's not a hard think to learn to make your games look even a bit better.
So I will just go with explaining what I did in my game and why, so maybe you can get a real example.
Moving:
We will start with this one.
If you want to make a movement, it's most common to make particles that have no Start Speed as they need to be 'lost' by player. And so for me it was the same.

I will explain some of these to show what I did.
Looping - I wanted my particles to spawn constantly as I'm moving my character all the time.
Start Lifetime - It describes how long the particles will live, so I had to reduce it or otherwise the trail would be too long.
Start Speed - It's the speed that particles got when they appear and as I want them to stay behind my character I just set it to 0
Emission/Rate over Distance - It's emitting particles only when my character moves so that I don't produce particles when I stand and also it tracks my speed, so the faster I move the more particles will spawn.
However, these are just properties of the particle. As my character is just a little square I had to set a shape of the particle emitter:
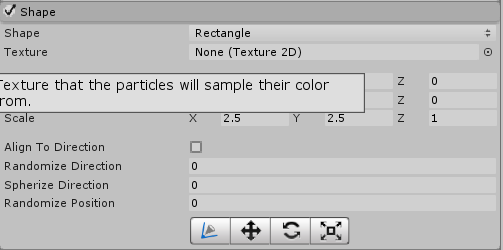
As simple as that, I just chose Rectangle and scaled it to 2.5 on X and Y axis as it was the size of my little square.
There is a most important part now. One of the most important abilities while creating particles is choosing proper material. The default particle material is nice and it can be used well, though it's not sharp enough for projects like mine. What I did was to launch photoshop and draw this.
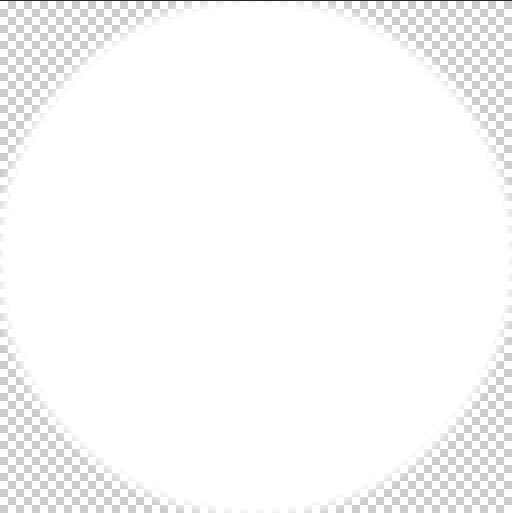
It's just a circle with transparency contour.
Then it was time to assign it to material.

I've set it to Lightweight render pipeline (as I was working on LWRP for postprocessing) and I set it to Lit as I wanted to make my particles shine.
Then when you pick Emission Map:
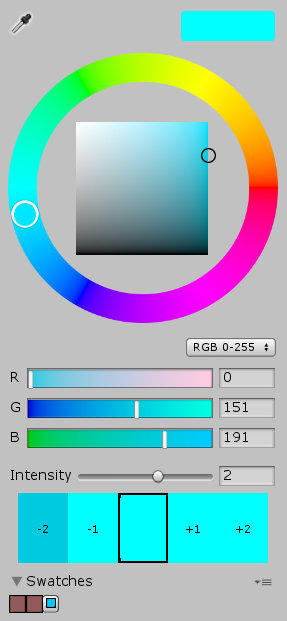
I changed color and increased Intensity as it make that nice glow effect of my game. And then I assigned it in the Renderer:

Now the best looking part that is called a plexus effect. These are the lines that make some kind of thunder effect behind my character. It's really easy:

Mode - I set it to 'Ribbon' as it makes particles connect with each other.
Width over Trail - As name suggests, it's how fat our trails are, so I wanted to make them a bit thinner than particles they were connecting.
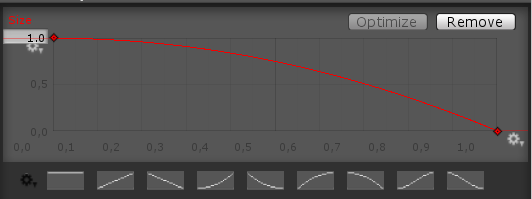
Last but not least, our particles are almost done, but when they start to disappear they do it really urgently and what we want is a slow slide into transparency. As we are using Emission map we can't change the color or transparency in our Particle system I had to fade them with Size over Lifetime component.

I choose curve (by clicking this little arrow on the right) to make the particles fade faster at the end.
And that was it :)
This way I got a pretty promising trail for my character movement. It might look a bit complicated, however it took me around 10 mins to set it all up and I'm not really experienced with particles.
I hope that it somehow will help some of you with understanding how to make cool particles in your games. I want to talk through other particles that I made, but I'm a bit tired for today :)
Have a great one!
Leave a comment
Log in with itch.io to leave a comment.